|
◆ Cisco ISE - コンフィグレーションバックアップ
ISEのコンフィグレーションバックアップを行うためには、先ずRepositoryを作成する必要があります。

プロトコルにはFTP以外にも選べますが、サイズが大きいのでFTPを使用することをお勧めします。
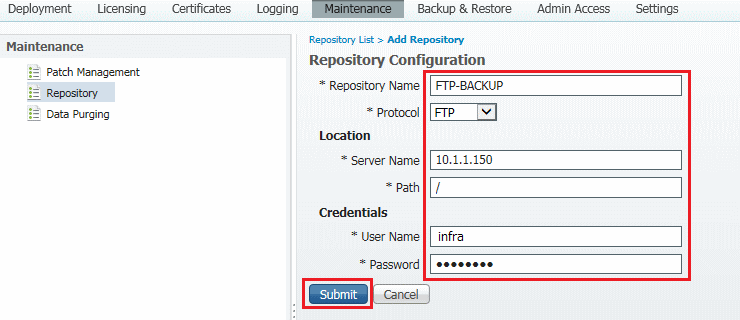
| Repository Configuration |
説明 |
| Repository Name |
Repositoryの名前。適当な名前を入力。 |
| Protocol |
バックアップファイルを転送するプロトコルを選択。 |
| Server Name |
FTPを選択した場合、FTPサーバのIPアドレスを入力。 |
| Path |
ファイルの置き場所。一般的には / とだけ入力。 |
| User Name |
FTPを選択した場合、FTPで使用するユーザ名。 |
| Password |
FTPを選択した場合、FTPで使用するパスワード。 |
続いてバックアップの実行を行いますが、先ほど作成した Repository を指定します。
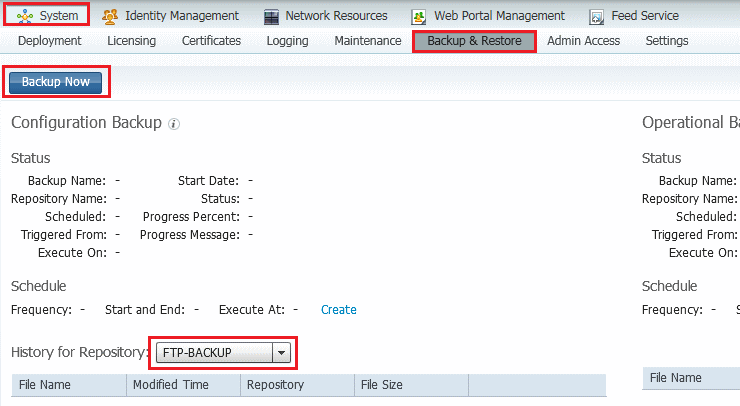
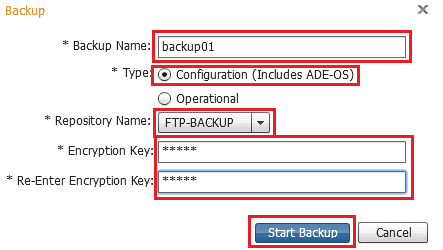
バックアップを実行すると以下のような画面が出力されるので、Backup Nameに適当な名前を入力して
バックアップファイルのための暗号化キー(Restoreする際に入力するいわばパスワード)を入力します。
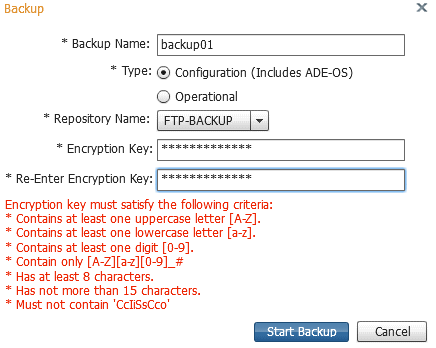
この暗号化キーの設定には以下のような厳しい設定ガイドライン(赤文字)があるのでそれに従いましょう。
|
バックアップの手順において「Start Backup」
を押す前にISEにCLIで接続して以下のコマンド
を実行してみましょう。
myise/admin# show repository FTP-BACKUP
以下の①が表示される場合はバックアップが
正常にこれから行えますが、②が表示された
場合はFTPの設定がうまく行えていません。
①% Repository is empty
②% Error reading directory on remote server
|
|
% Error reading directory on remote serverが表示された場合に気をつけるべき点は以下の2点です。
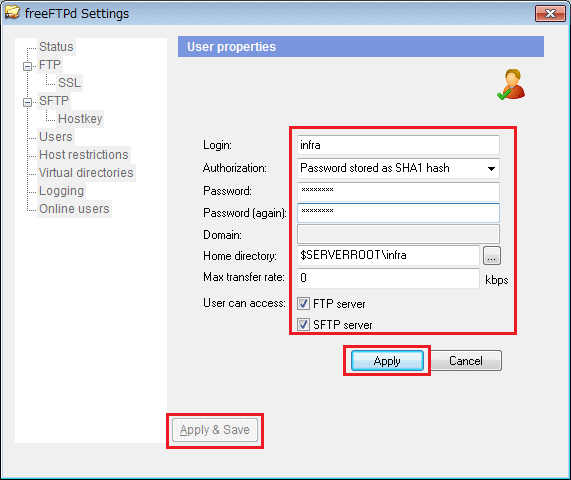
01. ISEで設定したFTPユーザ名とパスワードが、FTPで設定している情報と合致していない。
02. PCをFTPサーバにしている場合、Windows FirewallやセキュリティソフトがFTP通信を邪魔している。
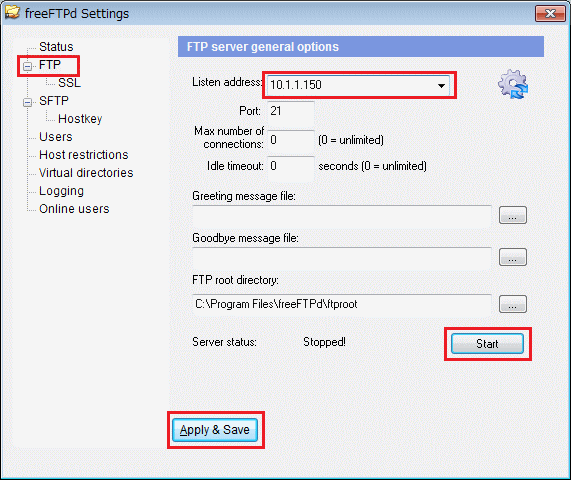
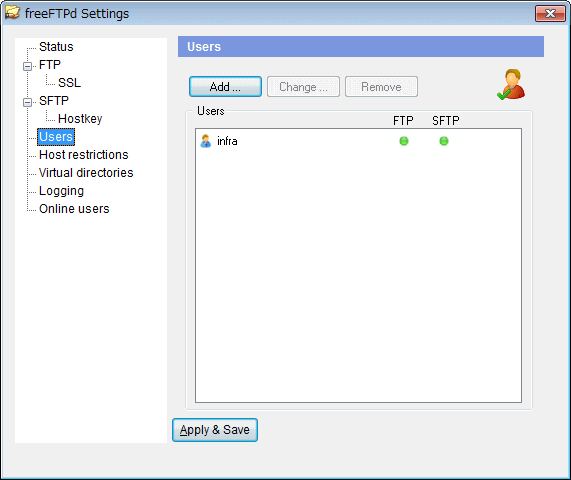
FTPバックアップがうまくいかない場合、FTPソフトウェアが原因である可能性もあるので、利用している
FTPソフトとは別のFTPソフトで試してみましょう。
|