|
◇ 以下のクライアント証明書のエクスポート手順の解説は以下の設定完了が前提です。
① Cisco ASA - ASAの基本設定、CSRの発行手順
② Windows Server Active Directory 証明書サービス - サーバ証明書とCAのルート証明書発行
③ Cisco ASA - サーバ証明書のインストール
④ Windows Server Active Directory 証明書サービス - クライアント証明書の発行とインストール
◆ クライアント証明書のエクスポート
iPhoneにインストールするクライアント証明書は、当然ながら認証局に署名されたものである必要があります。
そこで先の手順でPCにインストールしたクライアント証明書をエクスポートし、それをiPhoneにインストール
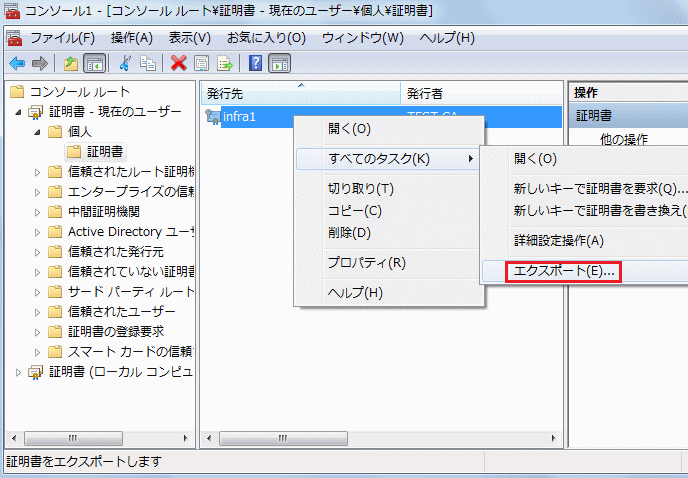
する方法を紹介。以下の通りクライアント証明書を右クリックして「全てのタスク ⇒ エクスポート」を選択。
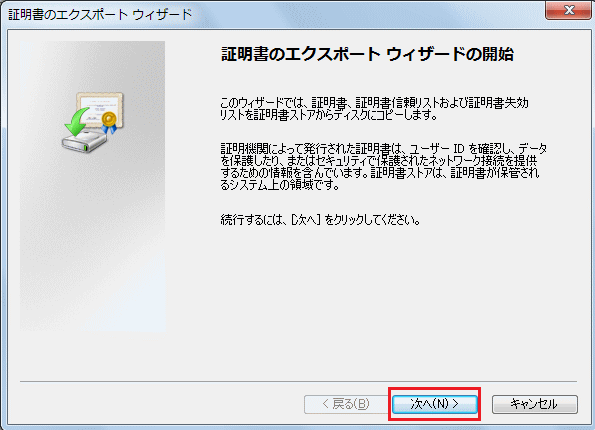
「次へ(N)」を選択。
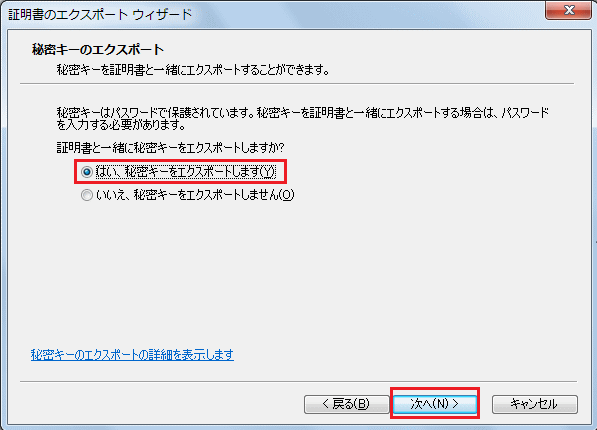
ここで秘密鍵をエクスポートすることが大切です。
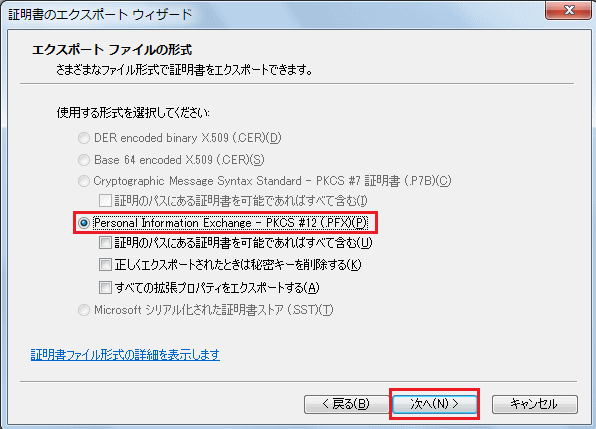
「Personal Information Exchange - PKCS #12(.PFX) 」を選択。
※ チェック項目については、必要に応じてチェックしましょう。
※ PKCS(Public-Key Cryptography Standards)の種類はSSLサーバ証明書の一番下の解説をご参考に。
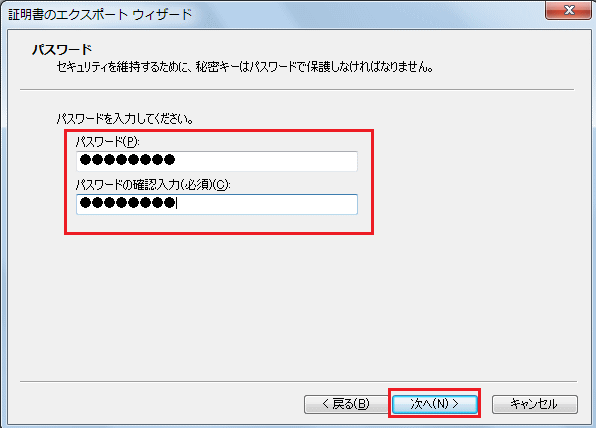
秘密鍵を保護するためのパスワードを設定します。秘密鍵を保護するためのパスワードであって
これが秘密鍵に該当する情報ではありません。この証明書を別のデバイスにインストールする際に
ここで設定したパスワードの入力が求められます。
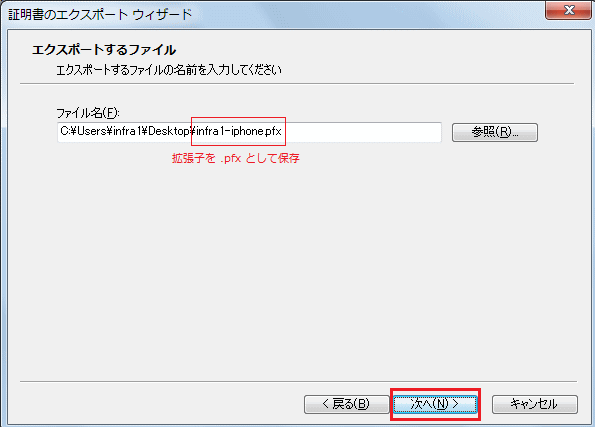
適当なファイル名で拡張子を .pfx として保存。
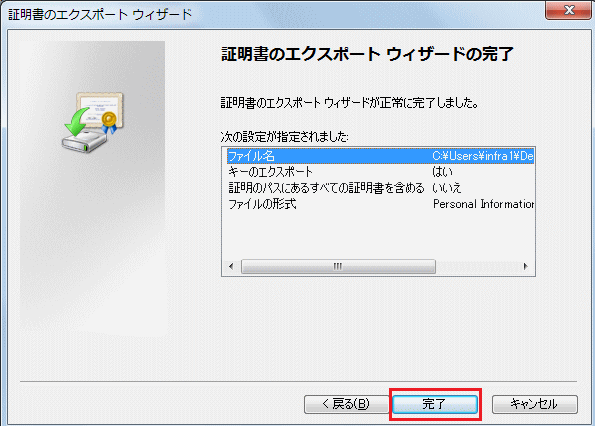
エクスポートされたクライアント証明書を以下のように確認できます。

現在の拡張子「.pfx」を「.p12」に変更します。iPhoneなどのiOSデバイスにインストールするため。

◆ CAのルート証明書のエクスポート
クライアントPCにインストールしたCAのルート証明書をエクスポートします。
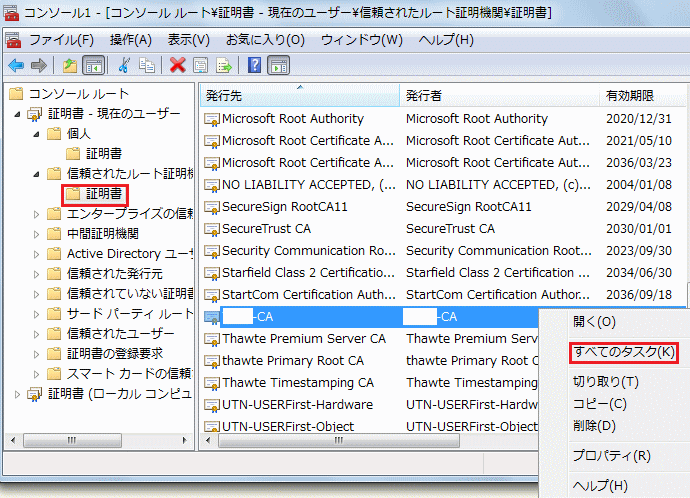
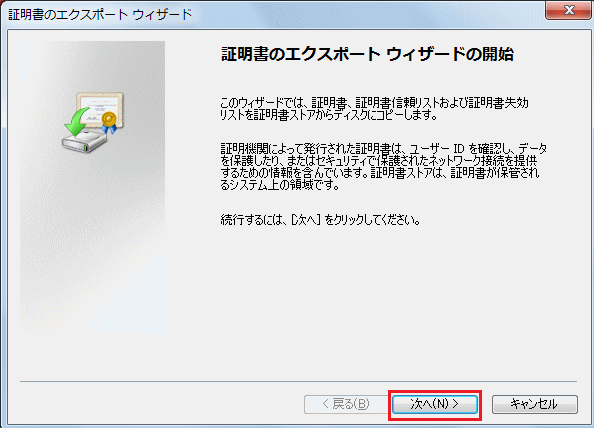
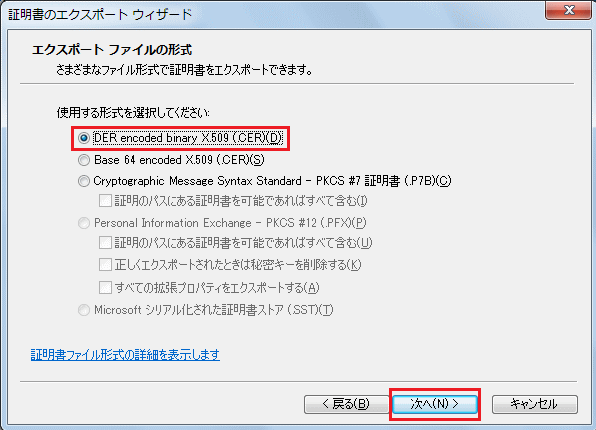
使用する形式を「DER encoded binary X.509 (.CER) (D)」を選択。
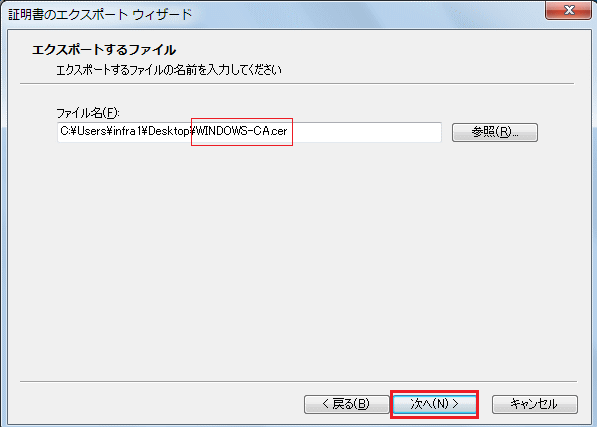
CAのルート証明書と分かるような名前で保存。拡張子は「.cer」とします。
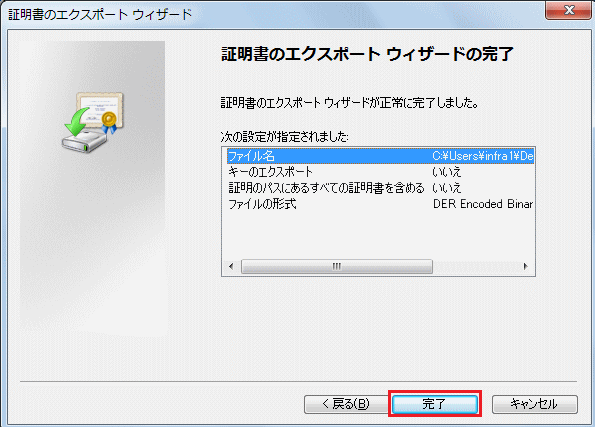

CAのルート証明書のエクスポートが成功すると上図の証明書ファイルを確認することができます。このCAの
ルート証明書と先ほどのクライアント証明書をiPhoneにインストールする方法を次ページ以降で紹介します。
|